Thursday, December 27, 2007

Soup À la leftovers

Another experimental dish that just turned out great! Well ... let's just cook :)

Ingredients
1. Daal (cooked lentils) [1 cup]
2. Rotis [2-3]
3. Butter Milk [2 cups]
4. Water [1 cup]
5. Black Pepper
6. Salt
7. Butter [ 1tsp]

Method
In a grinder, mix all ingredients from 1 to 4 into liquid consistency. Slow-cook the mix for about 30 minutes. This can also be cooked in an oven for 30 minutes on 300F. When the liquid has reduced to half and the desired consistency has reached, serve hot. Top it with a dollop of butter and sprinkle crushed black pepper.
All the ingredients are usually available at home. The leftover lentils have the necessary spices and onions and tomatoes, which will add to the taste. This soup is easy to make and the taste is perfect for winter dinners.

Lauki Chilka Bhaja ... A bengali dish

Bengali Cuisine is very elaborate, even the everyday food. One of the typical accompaniment of the food is a fried dish to be had along side rice and daal. Also, known as a "Bhaja", this is usually a deep fried vegetable (or fish) by itself or battered with Bengal Gram paste.

Chilka is the skin and Lauki Chilka bhaja is the fried skin of Bottle Gourd. I have not had it any where else outside of my house. But, it tastes simply delicious... at least, people who have a taste for Bengali food will love it!

Ingredients
1. Lauki Skin [of 1 Gourd; remember, we made a lauki dish earlier, preserve the scrapped skin]
2. Poppy Seeds [2 tsp]
3. Potato [1 large]
4. Oil for frying
5. Ghee to garnish
6. Cumin [1 tsp]
7. Turmeric Powder [1/2 tsp]
8. Green Chillies [6-8]
9. Salt

Method
1. Cut the scrapped skin of lauki in julliens.
2. Cut the Potato in fine gingerly juliens. First remove the potato skin and cut fine round slices of potato. Then take a bunch of the round slices and cut them lengthwise finely
3. In a wok, heat some oil and let cumin splutter
4. Add the potatoes and turmeric and cover the wok. Let is cook for 1-2 minutes
5. Add the Lauki (gourd) skin and mix the vegetables.
6. Add salt and cuddle the vegetables to the center of the wok and cover and cook on low heat for another 2-3 minutes
7. Add the poppy seeds and mix well. Stir the vegetables and fry for a minute or so.
8. Finally, add the slit green chillies and stir in ghee and cover for another 3-4 minutes or till the potatoes are tender.
Serve hot with Daal and rice. This tastes very well with hot rice and ghee. This can also be had with Roti, I learned it from Shekhar... but, not a recommended practice :)

Wednesday, December 26, 2007

Daal - Lauki [Bottle gourd with lentils]

This is a variation to the usual lentils that is made almost everyday in Indian menu. Adding lauki (bottle gourds) not only adds to the taste of the dish but also adds vegetable to the diet.

It is very easy to prepare, read below to know how.

Ingredients
1. Lentils (Chana or Tuar) [1/2 cup]
2. Lauki [1/2 of 1 small]
3. Onion [1/2]
4. Tomato [1]
5. Garlic [2 clove]
6. Red Whole Chilly [3-4]
7. Cumin [1 tsp]
8. Mustard Seeds [1 tsp]
9. Turmeric Powder [1 tsp]
10. Red Chilly Powder [1/2 tsp]
11. Salt
12. Ghee [1 tsp]

Method
1. Scrap the Bottle Gourds and cut them into small cubes. Boil them with a little salt
2. Pressure cook the lentil with double the quantity of water and pinch of turmeric and salt
3. In a wok, let the whole red chillies, mustard seeds and cumin seeds splutter in oil.
4. Add the garlic cloves and chopped onion
5. Once the onion starts to turn golden yellow, add the turmeric powder and red chilly powder
6. Stir for 2-3 minutes and then fold in the chopped tomatoes
7. Cook cover for a minute and add the boiled lauki and mix it with the spices
8. Add the boiled lentil along with the water in the pressure cooker
9. Add salt and let it simmer for 4-5 minutes
10. Just before removing from the heat, add 1 tsp of ghee

Additional Tip
You may add sambhar powder with the spices to make sambhar daal. The picture below shows the Sambhar Daal with Lauki.

Serve hot with Rice or Roti. Enjoy!

Sweet Mango Pickle

This is one of my favorite recipes - impossible to find in any restaurant or shops. And I have not met with anyone as yet, who could make it the way Ma makes it. Most recently, in an attempt to search for the recipe online, I stumbled upon this site and to my genuine pleasure, I found the recipe quite close to how Ma would make it. Later, I called up Ma in the evening and got her recipe that was a little different as mentioned in that site. However, when I made it, I was amazed by the fact that I came very close to how Ma would make it. Here it goes ...

Ingredients
1. Raw Green Mango [1 large mango]
2. Jaggery [Crushed in 1 cup]
3. Whole Red Chilly [3-4]
4. Panch Phoran* [2 tsp] [Read below for more info]
5. Oil [2 tsp]
6. Salt

Method
1. Peel and cut the mango into small pieces
2. Rub salt to the mango pieces and keep aside for 2-3 hours
3. In a wok, heat the oil and add the Red Chillies and Panch Phoron
4. When the Panch Phoron starts to splutter, add the mango pieces
5. Stir them in the oil for 3-4 minutes and then add the Jaggery
6. In low-medium heat, cook the mango - jaggery mixture until the jaggery melts completely and the mixture becomes sticky. The mangoes should also soften by now
7. Remove from heat and let it cool. Store in air tight container

Don't wait, just take one mango piece and indulge yourself completely in the sweetness of this pickle. This can be enjoyed with Paratha by itself or as an accompaniment to any food.
This is sweet dish, made out of something that is not typically sweet and no points for guessing it correct, Shekhar does not like it! One of his fundas, where he does not like distortion of a food from its normal behavior ... for example, Puran poli is sweet roti and he does not like it.... eh !
*Please Note
I was waiting for a recipe to include Panch Phoron, a spice mixture that is used in typical Bengali vegeterian dishes. It has a unique flavor and is used for the sole purpose of flavor. More information on Panch Phoron can be found here. In subsequent posts, I will add recipes that require Panch-Phoron. However, for this sweet pickle, if Panch Phoron is not readily available, you can simply use fennel seeds. According to my Ma, you can lightly fry and grind the fennel seeds and add the powder to the mango- jaggery mixture in the wok.

Bharma Karela [Bitter Gourd / Melon]

Bitter Gourd, as the name suggests is Bitter in taste. Even watching my dad, who is a diabetic, eat 2 boiled bitter gourds everyday with ease, did not encourage me to try out the bitter gourd. Fried bitter gourd was a part of my meal, every other day, which I ingested as a medicine. But, in North India, they make "Bharwa Karela", and this preparation is one of my favorites. I learned making this, after I got married. Of course, Shekhar likes bitter gourd, any which way!

Ingredients
1. Bitter Gourd [4 medium sized]
2. Onion [1 large]
3. Green Chillies [8 -10]
4. Turmeric Powder [1/2 tsp]
5. Red Chilly Powder [1/2 tsp]
6. Coriander Powder [1 tsp]
7. Amchoor Powder (Dry Mango Powder) [1 tsp]
8. Garam Masala Powder [1/2 tsp]
9. Cumin [1 tsp]
10. Mustard Seeds [1 tsp]
11. Salt to taste
12. Oil

Preparation [at least 4-6 hours before, overnight is best]
1. Scrap the outer skin of the bitter gourds, make one vertical slit in each of them, scoop out the seeds and rub salt all over and inside the bitter gourd
2. Preserve the scrapped skin and the seeds aside
This preparation will remove the bitterness from the gourds.

Method - Stuffing
1. In a wok, heat the oil
2. Add cumin and mustard seeds and fry till they start to splutter
3. Add the chopped onions and green chillies and fry till golden yellow
4. Add the spices from 4 to 8 and mix well. Add salt
5. Sauté for another 3 -4 minutes and turn off the heat

Method - Frying the Karelas (Gourd)
1. Stuff the Gourds with the filling. Preserve the left over stuffing aside
2. Tie each gourd with a thread as shown in the picture below
3. Deep fry the tied-up gourds
4. Fry the scrapped skins and seeds in the hot oil. Take them off the oil, when the scrapped skins are crisp
Serve the gourds on a bed of left over fillings and the crispy fried gourd skins. Eat hot with roti.

Tuesday, December 25, 2007

Gajar Ka Halwa [Carrot Dessert]

My fondest memories of winters from past is of "gajar ka halwa". Winter would bring those juicy carrots in the market and at home, it would be a perfect division of labor. My dad usually bought the finest of carrots, never less than 2 kilos and of course, a good bargain. My job was to grate the carrots (whenever, I wanted to give up, I faked bruising my hands with the grating board and my Dad usually took over). And my Mom used to stand for 30 minutes or so next to the wok, stirring the milk and the carrots to make the delicious "Gajar ka Halwa".

This is also one of those dishes that Mom used to make "just to bring that sparkle in my eyes". And that makes it so special ...

Today, when carrots are available all through the year, the "all so special" feel about it is kinda gone - but, it still remains my favorite sweet dish. Let us start cooking now ... or what?
Ingredients
1. Carrots [1 lb]
2. Ghee [1/4 cup]
3. Milk [2 cups]
4. Sugar [1 cup]
5. Blanched cashews, raisins, almonds [1/4 cup] - optional

Preparation
1. Wash and peel the outer skin of the carrots
2. Grate the Carrots. [I use food processor these days]
3. In a bottomed saucepan, heat the ghee and fold in the grated carrots
4. Stir the carrots for about 3-4 minutes or until the ghee and carrots have nicely mixed
5. Pour the milk and stir occasionally till the milk starts thickening (on a medium heat)
6. Keep an eye because as the milk starts thickening, you will need to stir continuously
7. Add the sugar and stir some more
8. You may want to add some more ghee at this point of time depending on your appetite for ghee.
9. Once all the milk is condensed and the ghee starts oozing out, the halwa is complete. It will be of thick consistency
Serve hot, garnished with dry-fruits. You may preserve the halwa in refrigerator until consumed in a day or two. But serve hot each time - it tastes best when hot.
Additional tips
1. The more the ghee, the tastier is your halwa - but remember the fat quotient!
2. You may add some Khoya to add to the richer taste. If you have some sweets in your refrigerator like Kaju Katli, Milk Barfee - add 2-3 pieces of the same to the halwa - This will add to the thickening of the milk and replace the khoya.

Enjoy the delicious treat !

Tuesday, December 18, 2007

Yummy Chicken Sticks

This is a very interesting finger food and can be served with your drinks. Easy to make, and delicious to eat!

What you will need:

1. Chicken.
Breast Pieces cut in thin stripes. You can have about 4 stripes from one regular sized chicken breast piece. Glaze lightly the chicken stripes in 1 tbs melted butter.

2. Batter.
There will be a dry batter made with the following:
- Red Pepper [1 tsp]
- All purpose flour [2 tsp]
- Black Pepper [1 tsp]
- Grated Parmesan Cheese [2 tsp]
- Lemon Zest [1 tsp]
- Salt [to taste]

Preparation
1. Pre-heat the oven to 350F
2. In a plastic pouch, put all the dry ingredients and shake well
3. Put the glazed chicken in the pouch and shake again - rigorously
4. The shaking will cause the batter to nicely coat the chicken stripes
5. Put the coated chicken stripes in oven for 10 minutes
6. Take tha chicken pieces out. They will be almost done. Glaze them thoroughly with some barbecue and spicy sauce on all the sides
7. Put the chicken back in oven and bake for another 5 minutes

Bake the chicken right before you are ready to serve, because you will not be able to resist the spicy and hot chicken for long!

PS: You can use this chicken in the quesadilla recipe, I have mentioned earlier 0r as a filling for sandwich.

Baked Spicy Fish

This is a very easy to make fish dish and it tastes awesome. It will take about 5 minutes to prepare and about 10-12 minutes to bake.

You can use sea-food spice powder to coat the fish. You can get this in any store in the Asian food section. Do not worry, if you do not have it. Follow the recipe below:

Steps
Pre-heat the oven to 350F

Mix the following ingredients together -
1. Red Pepper flakes [2 tsp]
2. Thyme [1 tsp]
3. Rosemary [1/2 tsp]
4. Black pepper [1/2 tsp]
5. Onion Powder
6. Garlic Powder
7. Salt to taste

Rub the fish fillets with the spice mixture above. Next, baste an oven proof base and put the fish fillet. Squeeze 1/2 lemon juice and cover the fish with fresh parsley and mint herbs.

Bake the fish for 8 minutes. Turn the fish once and bake for another 4 minutes. Remove the herbs from the fish and serve in a platter.
The fish should be juicy and soft and it should melt in your mouth when done!

Quick Quesadilla

This is a simple recipe to make quesadilla at home. It turns out pretty fine, the first time. A quesadilla is a toasted tortilla with melted cheese inside. Infact, 'queso' in Spanish means "cheese". Tortilla is the base used to make the quesedilla, and is usually made with corn flour. I used regular and jalepano tortillas in this recipe.

You can stuff a variety of fillings in the Quesadilla, however, this is not a requirement. In this recipe, I am making Chicken Quesadilla.

You will need:

1. Tortillas
2. Grated Cheddar Cheese
3. Grated Monterey Jack Cheese
4. Olive rings [Optional]
5. Bell Pepper rings [Optional]
6. Grilled Chicken breast pieces
Steps to make Quesadilla
1. Pre-heat the oven at 300F
2. In a working board, place the tortilla
3. On half side of the tortilla, top generously with Grated Cheese
4. Spread the chicken pieces, olives and pepper rings on the cheese. Sprinkle some more cheese
5. Fold the tortilla to cover the stuffings, quite like an omlette
6. You may combine some salsa to the stuffing.
7. Place the stuffed tortillas in the oven and bake for 3-4 minutes, or untill the cheese has melted and the tortillas are crispy
8. Once, out of the oven, cut each quesadilla into wedges. Three wedge per quesadilla is the ideal size.

The chicken stuffing can be bought from frozen food section of any food store. Or, you can make them at home as described here.

Server with Guacamole, sour cream and Salsa for a delicious meal.
You can make quesedillas with variety of stuffings, including, shrimp, other meats or vegetables.

Enjoy!

Thursday, December 13, 2007

Black - Dry Garbanzo - Pindi Chana

This is the Garbanzo (chick-peas) recipe with a twist!

Ingredients

1. Chick Peas 2 cups
2. Whole Garam Masala (Spices) [3-4 cloves, 3-4 cardamoms, 1" cinamon, 1 Bay leaf, 2 Red Chillies]
3. Chopped Onions [1 large]
4. Chopped Tomatoes [2]
5. Ginger Paste [1 tsp]
6. Garlic Paste [1 tsp]
7. Turmeric Powder, Chilly Powder, Cumin Powder, Coriander Powder [1 tsp each]
8. Garam Masala Powder [1 tsp]
9. Salt to taste
10. Dry Amla [Indian Gooseberry; 1 Amla broken into pieces]
11. A tea bag or 2 tsp tea in a porous pouch.

Pre-preparation
The Garbanzo Beans need to be soaked over night before they are ready for cooking. To speed up the process, wash and soak the beans in hot water. 2 Cups of water for 1 cup of peas. Add a pinch of salt to the water.

On the day of cooking, boil the already soaked peas with the Amla pieces and Tea Bag - in Microwave for 10 minutes or for 3 whistles in a pressure cooker. The peas should be soft enough to get mashed when pressed with fingers. Do not drain away the water used for boiling.
The tea will add to the dark color and the amla will add a sour-tangy flavor of the peas. The water will be added to the gravy.

The difference in the color can be seen in the image below:
Preparation
1. In a wok, heat some oils and add the whole spices [ingredient no 2] and let them to splutter
2. Add chopped onions and ginger-garlic paste. Stir well
3. When the onions look golden yellow, add the dry spices [ingredient no 7]
4. Stir and mix the onions with the spices.
5. Now, add the chopped tomatoes and fry some more.
6. When the gravy is almost ready, add the chick-peas and mix well.
7. Gradually add the water (that was used for boiling) to the wok.
8. Add salt to taste. Add the powdered garam masala.
9. Cover the wok and let it cook on low heat for 5 minutes
10. Keep it on heat until desired consistency is reached

Serve Hot
Garnish with Onions, wedge of lemon and tomato slice. A dollop of butter will add to the Steam! Serve hot with Rotis

A Turnaround Dinner [Chicken Fried Rice]


A turnaround dinner??? Yes, when instead of 'Kichdi' you have a 'Chicken Fried Rice with Red Wine' served on a candle lit table', a turnaround dinner is in the making! After all, December brings in Romance in the air, why not get some of it to your dinner table :)

The story. One look at the refrigerator and I knew that it has to be Khichdi tonight. With 1/4th of capsicum, 3-4 mushroom cuts, 3-4 florets of cauliflower, 1 egg and 2 pieces of chicken in the refrigerator, neither could I make a veggie side nor a non-veg side! But, wait a minute ... 1/4th of capsicum, 3-4 mushroom cuts, 3-4 florets of cauliflower, 1 egg and 2 pieces of chicken? Enough, when all taken together, right?. And here I go ... making an interesting Chicken Fried Rice.

The Preparation
1. Steam rice for two people, the usual way
2. Cut the two chicken pieces into small bite sized cubes. It will be about a small bowl. Mix black pepper, red pepper flakes and a pinch of salt
3. In a pan, heat some oil and stir fry the chicken pieces for 3-4 minutes. Cover for 2 minutes and stir again. Add 1 tbsp of sriracha sauce. If you do not have this - add a spicy sauce that you may have at home. This is just to add spice to the chicken. Stir some more
4. At this point, add 1/2 a cup of red wine and stir again. Cover the pan for 2 more minutes. By now, the chicken will be done and will have absorbed all the flavors.
5. Take the fried chicken out of the wok
You get the point - you can serve this as an appetizer in a party by itself!
6. In the same oil, scramble the egg. When done, take out of the wok.
7. Take a deep bottomed wok, add 2 tbsp oil. Add some whole spices (3 cardamom, 3-4cloves, 1/2 tsp black pepper, 1"cinnamon, 2 red chilly)
8. When the spices start spluttering, add finely chopped onions (1/2 onion) and 1 tsp ginger paste. Stir and mix nicely
9. When the onions start glazing, add the cut vegetables. Stir and cover for 2 minutes
10. Add 2 tsp 'Sriracha Sauce' and mix the vegetables nicely.
11. Mix the chicken pieces and scrambled eggs. Add some red pepper flakes and salt to the mixture in the wok. Stir some more
12. After 2 minutes, mix the steamed rice and stir nicely, mixing the rice to the vegetables and the chicken
13. Add 2 tsp of Ghee on top of the rice. This adds to the flavor of the recipe. Cover the lid of the wok and lower the flame. Keep it on heat for another 2-3 minutes.

The grand finale
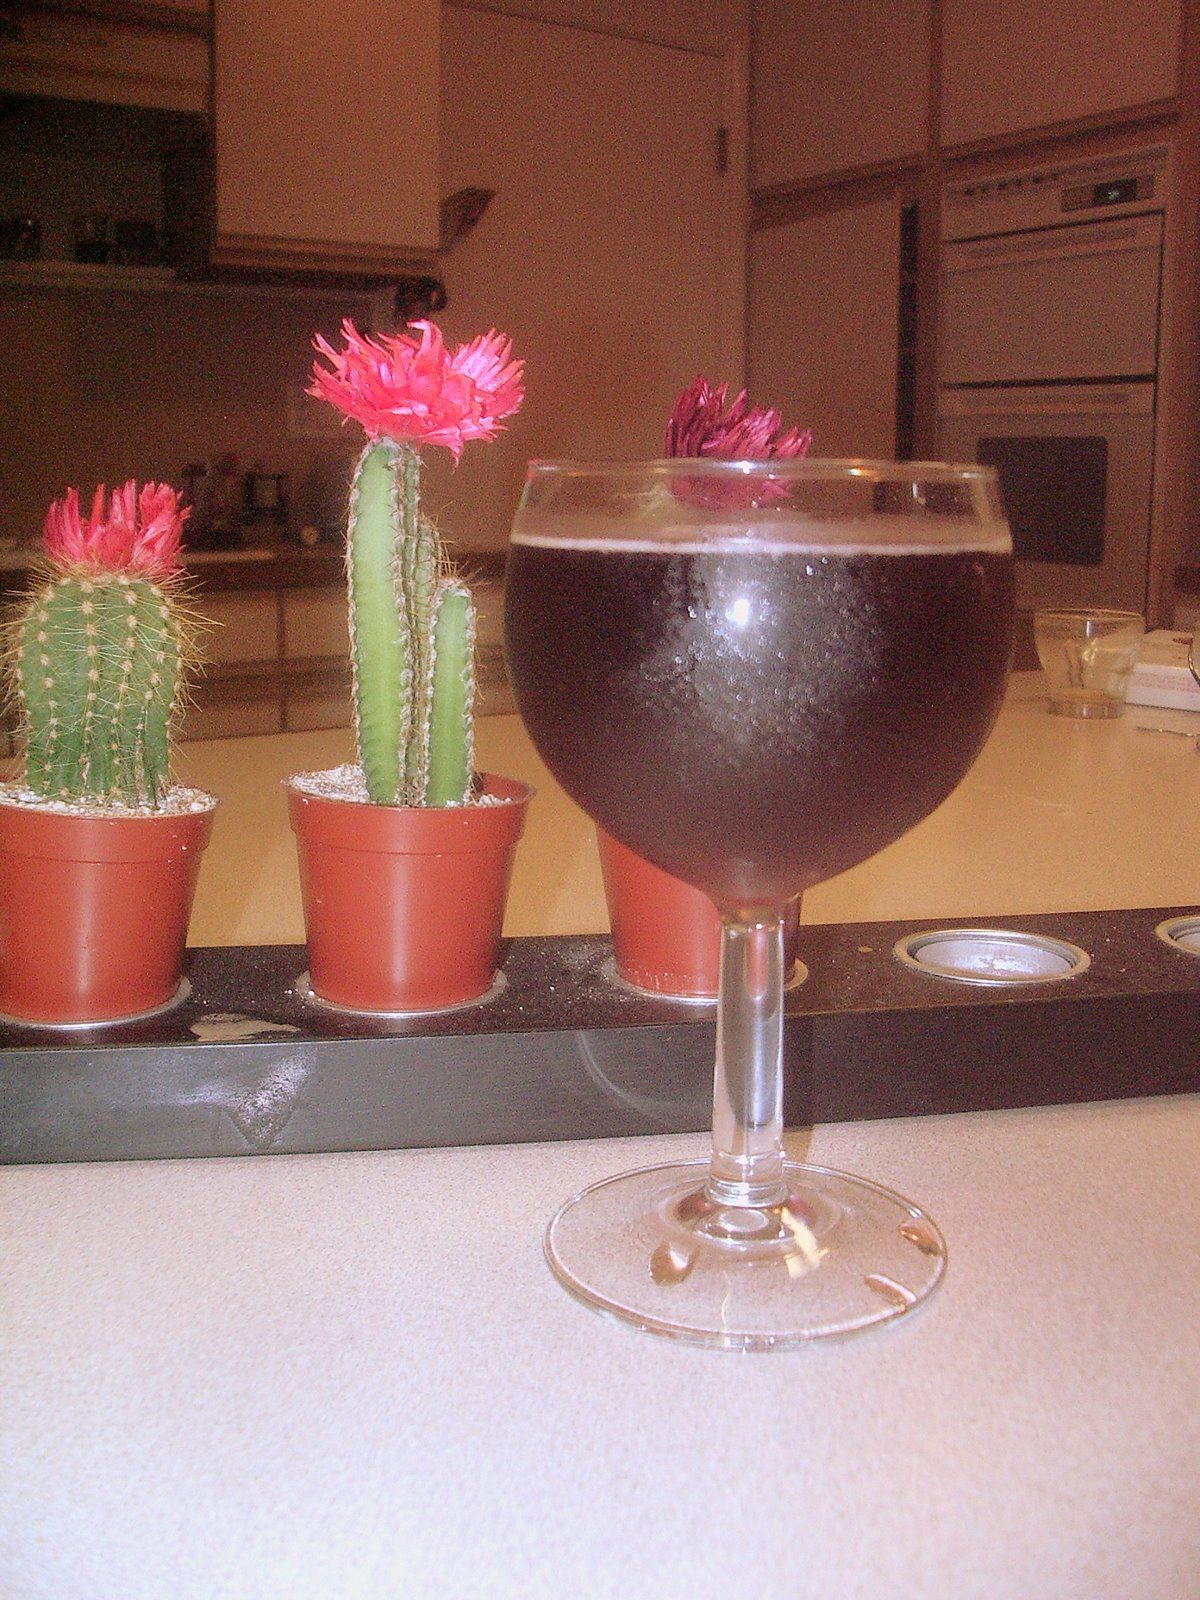
Garnish the Fried Rice with some mint twigs. Pour yourselves some nice red wine and light a candle. You are all set for a romantic dinner :)

Crispy Spicy Eggplant

This is an extremely easy to make recipe that can be quickly added as a starter to your menu. And believe me, the taste is yummylicious!

What you need
1. Chinese eggplant [2 average sized eggplants will make approximately 20 pieces] cut horizontally, a diagonal cut as shown above will add to the drama!
2. Cayenne Pepper
3. Parmesan Cheese
4. Sun Dried Tomatoes
5. Salt to Taste
6. Oil [for basting]

Let's get Started
1. Pre-heat the oven to 350F
2. Spray some oil on an oven proof tray [ you can use a cookie sheet]
3. Spread the cut eggplant pieces on the sheet keeping small distance between each pieces
4. Spray some cayenne pepper and salt on each eggplant piece. Turn them and repeat the same on the other side. Now the eggplants will be nicely coated with pepper and salt
5. Pour few drops of oil on each pieces
6. Keep in oven for 15 minutes
7. After 15 minutes, take out the eggplants. They will be almost cooked by now.
8. Top a tsp of Sun Dried Tomato on each piece and cover with shredded Parmesan cheese
9. Put the tray back in oven and keep it for another 10-15 minutes.
Serve hot.
This is a very easy and delicious starter. If you have kids, encourage them to make it :)

Wednesday, December 12, 2007

Mirchi ka Salan [Chilly in Tamarind Sauce]

Even though the main ingredient of this recipe is chilly, the gravy is not hot. And this makes for a very interesting combination taste ranging from "hot to sour", a pleasant surprise for your palate.
Ingredients
1. Chillies [can choose from different varieties] - 20 pieces
2. Onion - 1 mid-sized onion
3. Grated Coconut - 1 small bowl
4. Tamarind [diluted in 1/4 cup water] - 2 tspn
5. Methi [Fenugreek Seeds] - 1 tspn
6. Coriander Powder - 2 tspn
7. Chilly Powder - 1 tspn
8. Turmeric Powder - 1 tspn
9. Cumin Powder - 1 tspn
10. Ginger - 1"
11. Mustard Seeds - 1 tspn
12. Red Chilly - 2
13. Salt - To taste

Preparation
Wow, after that long list of ingredients, we better get started cooking. Prepare the following before you start making the curry
1. Fry chopped onions, drain and keep aside
2. Split the chillies and lightly fry them in the same oil
3. Fry the methi dana and coconut and keep aside
4. In a grinder, grind the fried onions, coconut, methi and all ingredients from 2 to 10

Gravy
1. Heat oil in a wok
2. Add Mustard Seeds and Red Chillies, broken into two
3. When the mustard starts to splutter, add the coconut-tamarind paste, made above
4. Stir the mix and fry for a minute
5. Add the green chillies and stir for another 3 minutes
6. Add a little water and salt to taste
7. Cover and let it simmer for another 3-4 minutes, or the desired consistency is reached

Tastes equally well with rice or roti. N'joy!

Saturday, December 8, 2007

Spicy Crab Curry

Out of curiosity, I browsed the Internet for different varieties of crabs. And interestingly, my search revealed that what I thought was a crab recipe, actually was not! Because ... "King Crab", the key ingredient of my recipe today, I just found out, does not belong to the Crab Family. However, the similarity is so much that "The UK Food Standard Agency allows king crabs to be sold as "crab", but this practice is not followed outside the food industry."

Well, good enough for me ... after all, "whats there in a name"! And now back to the delicious Spicy Crab recipe, made with, you guessed it right - King Crabs.
Getting the Crabs Ready
I usually buy the cooked crab feet and claw pieces. However, if the crab is not cooked, boil it in water with a pinch of salt for about 8 minutes. Depending on your preference, break the crab feet in sizable pieces.

For this recipe, I am using 1/2 Lb cooked crabs.

Getting the Spices Ready
All the spices used in the recipe are shown in the picture above.

Dry grind the following ingredients:
- Dry Red Chilly [8-9]
- Garlic Cloves [8-10]
- Ginger [1"]
- Cinnamon [1"]
- Cumin Seeds [1 tsp]
- Fennel Seeds [1/2 tsp]
- Black Pepper [1/2 tsp]
- Grated coconut [1/2 cup]
- Onion [1 large]

Making the Curry
1. In a wok, heat some oil.
2. Saute' the crab pieces for a minute.
3. Add 2 chopped tomatoes to the wok and saute for another 3 minutes.
4. Add the ground spices to the crabs in the wok and stir for about 3-4 minutes or until the spices and crabs mix well.
5. Pour 1 cup water and add salt according to taste. Cover the wok and cook under medium heat for 5 minutes.
6. Finally, remove the cover and cook the curry, until desired consistency is reached. Keep stirring occasionally so that the gravy does not stick to the bottom of the wok.

Grand Finale
Serve the steaming, spicy crab curry with plain rice. Enjoy!

Sunday, December 2, 2007

Easiest Roasted Chicken

This is a very easy-to-make roasted chicken. The return on investment (time and effort) here is huge!!! Here comes my recipe.
Preparation

1. First of all pre-heat the oven at 450F
2. Wash and dry the chicken properly
3. Baste the chicken on all sides with oil / butter
4. Rub all sides of the chicken with seasoning salt and black pepper
5. Poke the chicken with a fork
5. Keep aside for 20 minutes

Roasting
1. The oven must be hot by now. In an oven proof tray, put the chicken and let it roast for 15 minutes.
2. After 15 minutes, take the chicken out. It will be almost done. Baste all over the chicken with the chicken juice in the tray and sprinkle some thyme or rosemary over the chicken. Roast again for 3-5 minutes

A delicious chicken roast is done. And this, while you were watching that favorite show on your television, or blogging about tradition chicken curry :)

Traditional Chicken Curry

This is the chicken curry, my Mom would make every Sunday and I still love this recipe better than any other chicken preparation. And of course! Like all my recipes, this is very simple to make.

Marinate the Chicken
1. Wash and dry the chicken pieces
2. Take 1 tbspn of cooking oil, 1 tspn turmeric, 1 tspn red chilly powder, 1 tspn of coriander powder, 2 tspn of garlic flakes, 1 tbsn of yogurt and mix it well with the chicken pieces
3. Keep it aside for about 20 minutes

Chicken Gravy
1. Heat 1 tbsn of oil in a pressure cooker
2. Add 4-5 cloves, 1/2 tspn black pepper, 1 bay leaf, 3-4 crushed cardamoms, 1" cinnamon stick to the oil
3. Once they start spluttering, add finely chopped onion (1 large onion) and stir well until the onions turn golden yellow
4. Add the marinated chicken and mix well
5. Add a pinch of oil, stir for another 2 minutes and let it simmer for 5-6 minutes on low-medium heat. Keep stirring occasionally such that the gravy does not stick to the bottom of the pressure cooker
6. Chicken will leave its juices and will give the gravy a very special aroma
7. Finally, add 1/2 cup of water to the gravy and pressure cook for one whistle (about 5 minutes). The water can be added based on desired consistency
8. Keep the cooker closed for 3-4 minutes or until ready to serve
9. Just before serving, open the cooker and stir the gravy, on high heat, for 1 minute

The entire house will be filled with the rich Chicken Curry aroma. Believe me, keep someone to watch on you when you are eating. Because, you will not stop!

Tastes equally well with rice or chapati.

As I cooked, I made Spring Rolls ...

Saturday Brunch ... I started off making just eggs, while wondering how to make them, I said to myself naah, I can do better! Then, I thought I will make the Vermicelli Pulao - But, "wait a minute... didn't I make that just two weeks back?" Ok, so what next? Then, I started off making vermicelli with a twist. While, in the mid-way I said, "Viola! I will use this as filling for spring rolls :) And that is how, as I cooked, I made spring rolls...

For the Filling [and Vermicelli with a twist]
1. Boil about 1 cup vermicelli in water - you can put it in Microwave for 3 minutes
2. Meanwhile, chop 1 capsicum, 1/2 large onion and a 1" ginger julien
3. In a wok, heat some oil and break two eggs. Add a pinch of salt and toss it to make scrambled eggs. When done, take out the eggs
4. In the wok, add some more oil and saute oinions
5. When onions are slightly done, add the ginger and capsicum and saute some more
6. Season with salt, black pepper and red pepper and saute the vegetables
7. Add a spoon full of Soya sauce and add the scrambled eggs. Mix it all together

Spring Rolls

1. Take few ready made Spring Roll sheets. If kept in refrigerator, then keep it out for 20 minutes [alternatively, you can make the sheets with all-purpose flour. But, this is easier]
2. If the sheets are dry, brush few drops of water all over the sheets.
3. Take a spring roll sheet, put one tspn of the filling at one end and roll into cylinders. Wet your fingers in water and press on the corners of the roll to seal tightly.
4. When the spring rolls are made, deep fry them in hot oil. They fry very fast, so be careful.

The Grand Finale
In a plate, put some fillings [you made a lot of it] and serve the spring rolls with them. To make it perfect, pour yourselves glass of sparkling apple-grape cider.
Enjoy the brunch !